

Key Takeaways:
- You don’t need professional gear — planning, creativity, and smart use of natural light can make your DIY holiday photos look professional.
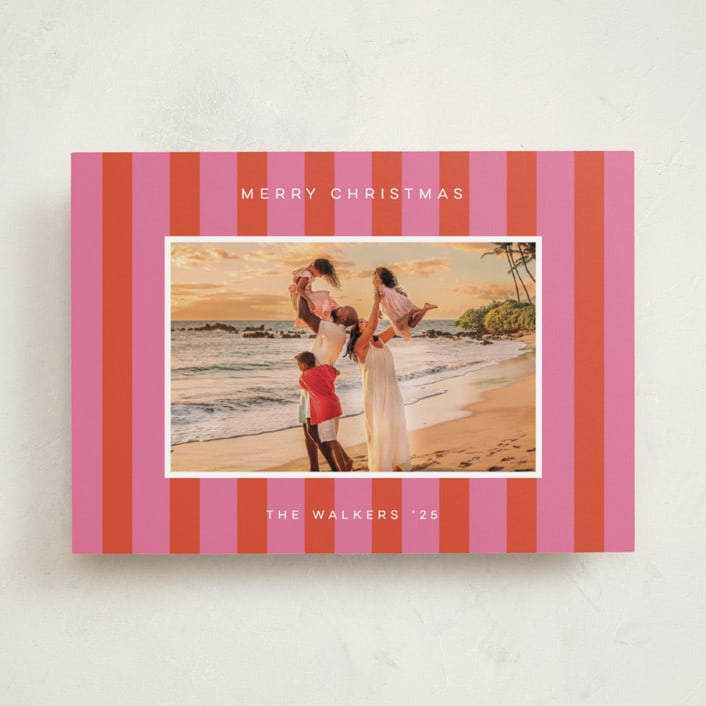
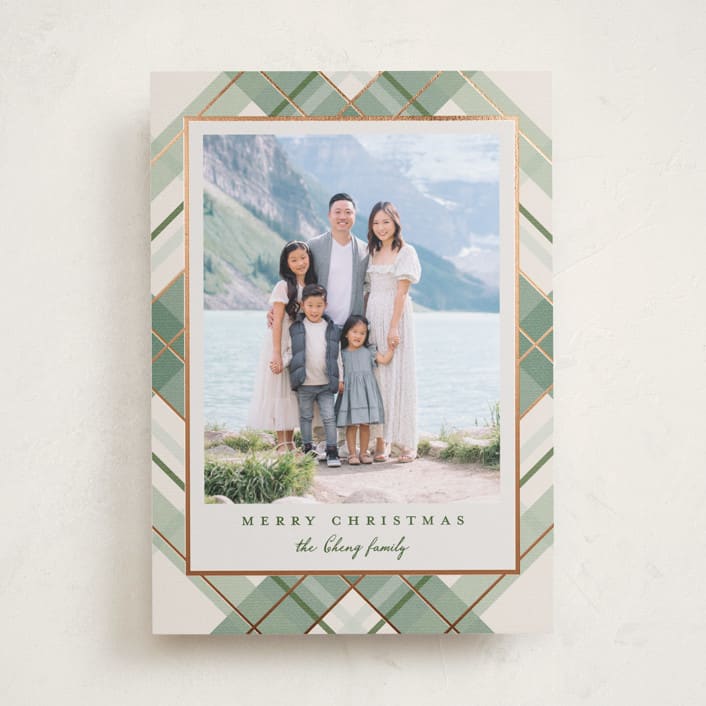
- Coordinating outfits, incorporating subtle seasonal elements, and choosing the right time of day can elevate the warmth and personality of your portraits.
- Simple editing techniques and awareness of common mistakes will help you create polished, print-ready images you’ll be proud to share.
Between shopping, decorating, and checking off your holiday to-dos, squeezing in time for a family photo can feel overwhelming. You might wonder how you’ll coordinate outfits, wrangle the kids (or pets), and still find the perfect lighting. But here’s the good news — you don’t need a professional photographer to capture beautiful, frame-worthy results.
With a little planning and the right approach, your DIY Christmas photos can tell the story of your holiday season in a way that’s warm and full of personality. In this guide, you’ll find our top tips for poses, equipment, timing, lighting, and more, so you can confidently create portraits that feel polished yet authentically you, photos you’ll be proud to share on cards, hang on the wall, and treasure for years to come. For more inspiration, explore these Christmas card ideas to see how your photos can shine even brighter.
TIP 1: 20 GREAT POSE IDEAS FOR YOUR DIY CHRISTMAS PHOTOS
The fun part about DIY Christmas photos is that you can truly make them your own. And what better way to show off your family’s personality than with a few great poses?
If you plan on using a tripod for your shoot, you want to first make sure that your family is placed in the center of the shot. Watch out for heads and limbs cropped from the view! You will also want to ensure your bodies are close together to avoid large, awkward gaps in the image. When you are all set up, try out a few of these pose options and have some fun taking your family pictures.
1. Look to Each Other
Capture a picture where you are focusing on your children, and not looking directly at the camera — your family pictures will be guaranteed to exude love.
2. Capture A Holiday Tradition in Your DIY Christmas Photos
Bring your tripod along for a trip to the Christmas tree farm or another outdoor holiday tradition your family may participate in. Capture the natural holiday spirit and glow on your family’s faces as you find the perfect tree and mount it on top of the car, lace up your skates to go ice skating, or complete a sledding run down your favorite local hill. All of these family holiday activities make for sweet memories to include in your DIY Christmas photos.
3. Let Your Kids Take The Lead
Allow your children to define their own posed moments — unleash their creativity and play along! Dress them up in some festive Christmas outfits and let them decide what they want to do next in front of the camera.
4. Classic Smiles
Sometimes it’s hard to beat a classic. Opt for a soft smile throughout the entire family and make sure everyone is looking at the camera and engaged in the moment. Experiment with different arrangements of family members to see which formation looks the best.
5. Consider A Candid Approach to DIY Christmas Photos
In addition to taking some staged and posed photos, try snapping some photos in between poses or engaging naturally with one another.
Pro Tip: For even more natural-looking DIY Christmas photos, engage your family in activities like walking together, playing games, or decorating the Christmas tree. These dynamic moments capture genuine smiles and expressions, reducing the forced feeling often associated with posed shots. These candid opportunities create authentic DIY Christmas photos that truly reflect your family's personality.
“Everyone feels a little camera shy when we first start a session, so I like to start with movement to help everyone relax. Walking with your family and smiling at each other rather than me is a great way to feel more comfortable in front of the camera while we get used to each other. For kids, it often takes some games or silliness to break them free of their fake smile faces.” — Laura Michele, Photographer

6. Share An Intimate Moment
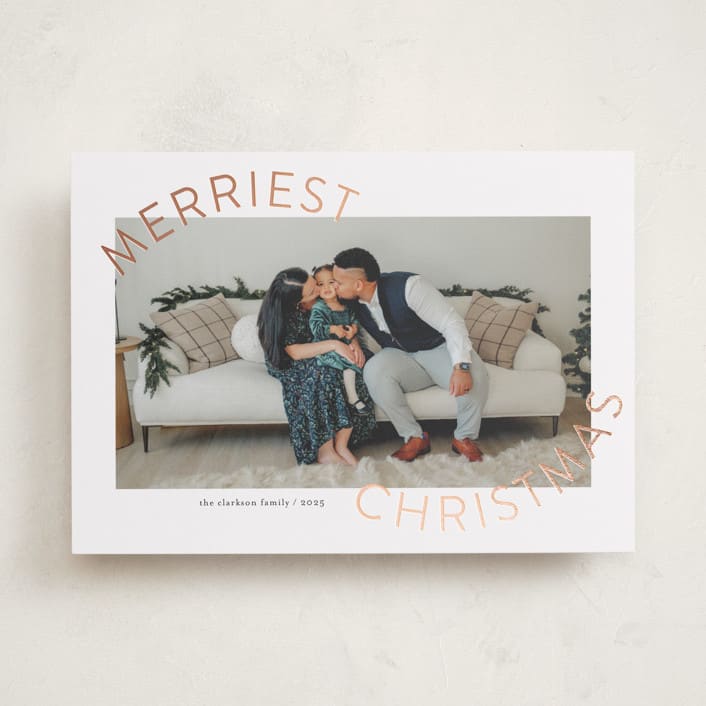
To execute this family photo pose, have your kids stand or sit around you as you and your partner exchange a loving look or kiss. The resulting shot will be beautiful and intimate — but you can add some levity to an otherwise surgery-sweet photo by having dad dress up as Santa while mom sneaks a kiss. Your holiday greeting can play to the lyric “I saw mommy kissing Santa Claus.”
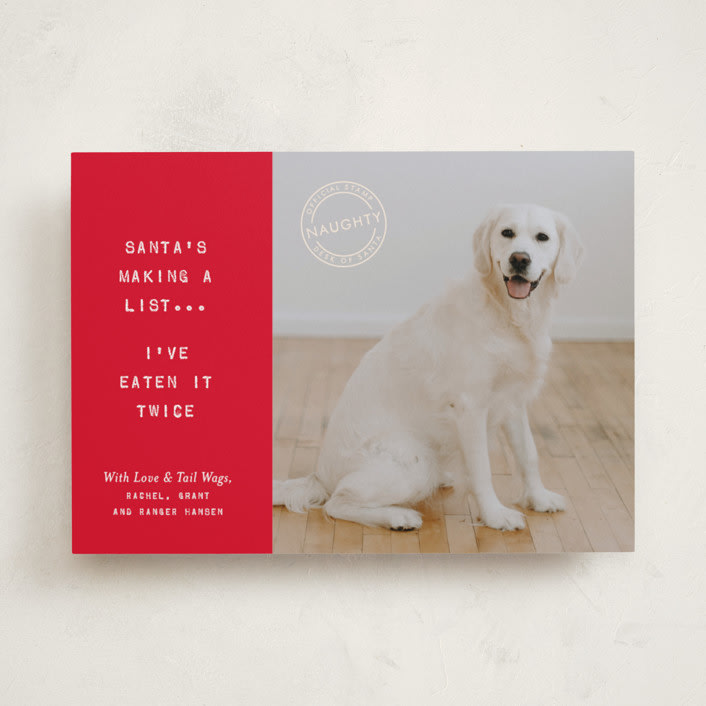
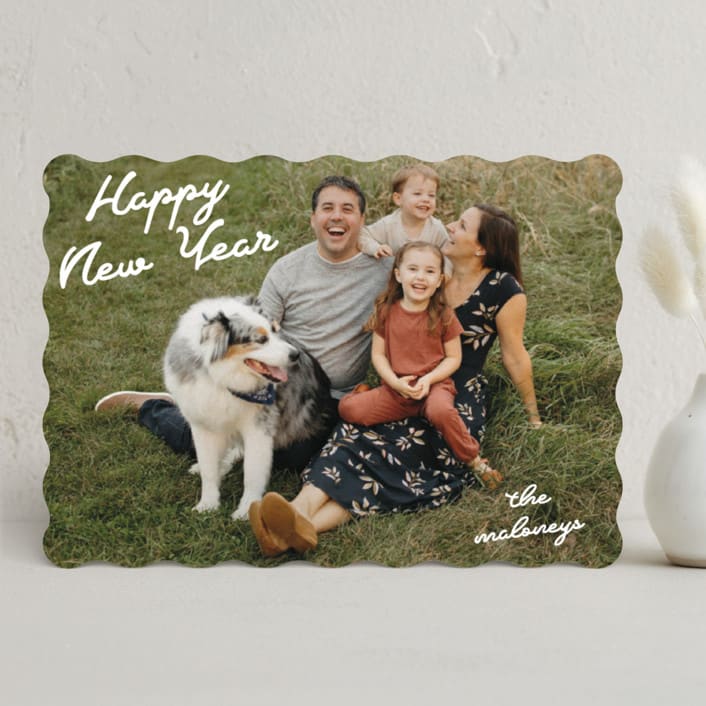
7. Highlight Your Furry Friend
If you have a family pet, let them share in the spotlight. Some possible poses include hugging your dog, staging them in an opened Christmas present, or holding them in your arms like an infant. For more ideas — and to learn how to successfully take a holiday-card-worthy photo of your pet — check out our full guide to including pets in your holiday cards.
8. Overhead Photos
When taking family pictures always consider different photo angles and points of view. A picture taken from the ground can look much different than one taken from an elevated platform. For a unique perspective of your children, try an overhead photo that focuses on capturing their smiles from directly above.
9. Lounging At Home
Draw attention to some of your family's favorite spots in the home to relax and unwind. Get comfortable in your family's favorite spot and set up the camera for a few shots. Also, if you have moved homes, your holiday card is a perfect time to highlight the move and share a picture of the new stomping grounds!
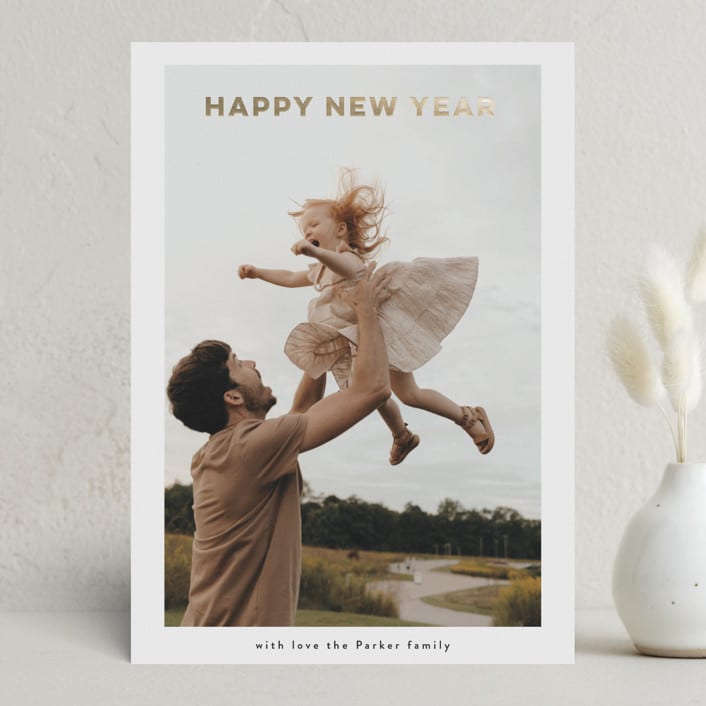
10. Walk Hand-In-Hand
For an easy and dynamic pose, walk hand-in-hand with your child standing in between you and your partner. You can walk naturally either towards the camera or away from it, and let the focus be on your child.
11. Include Props in Your DIY Christmas Photos
Bring props or toys into the mix that your children can play with during the photoshoot. There are plenty of holiday-themed props you could feature, such as Santa hats, Christmas ornaments, wreaths, garlands, and nutcrackers. Capture the joy that comes from your children interacting with these toys and props.
12. Kisses For The Kids
Share a sweet moment, while you and your partner joyfully give a kiss to your kids. The smile on the face will light up the camera. For a slightly different look, have your children kiss their parents on the cheek or each other on the cheek!
13. Timeless V-Shaped Pose
When arranging your family for DIY Christmas photos, consider the classic V-shaped pose. Place the children in the middle with parents on either side, creating a V-shape. This arrangement creates a balanced, visually appealing shot that draws the eye to the center of the photo. It's a timeless composition that works well for both formal and casual DIY Christmas photos.
14. Use the Environment
Don't be afraid to interact with your surroundings if you’re shooting your DIY Christmas Photos outdoors. Lean against trees, sit on rocks, or incorporate other natural elements into your poses. This approach adds context to your DIY Christmas photos and makes the environment an integral part of the composition. It can create a more relaxed, organic feel to your family portraits.
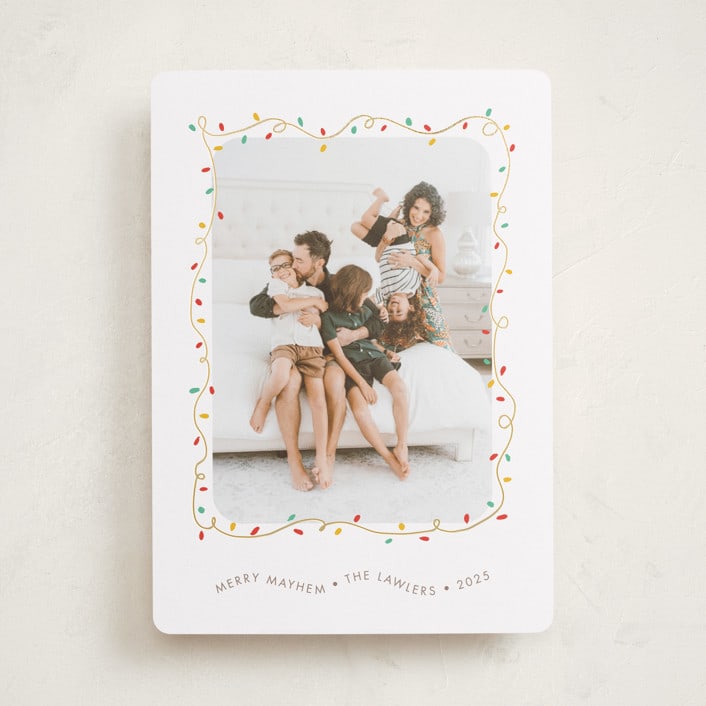
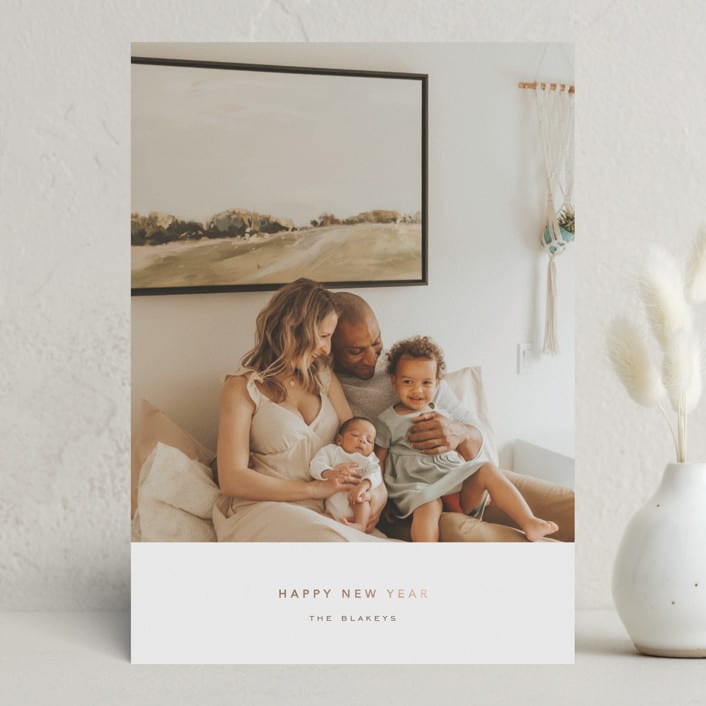
15. Holiday Pajamas on the Bed or Couch
Slip into your favorite holiday pajamas and pile onto the bed or couch for a cozy, laid-back vibe. You can hold mugs of hot cocoa, read a Christmas book, or just snuggle under a festive blanket. This pose works great for showing the warmth of your home life, especially if you want your photos to feel relaxed and real.
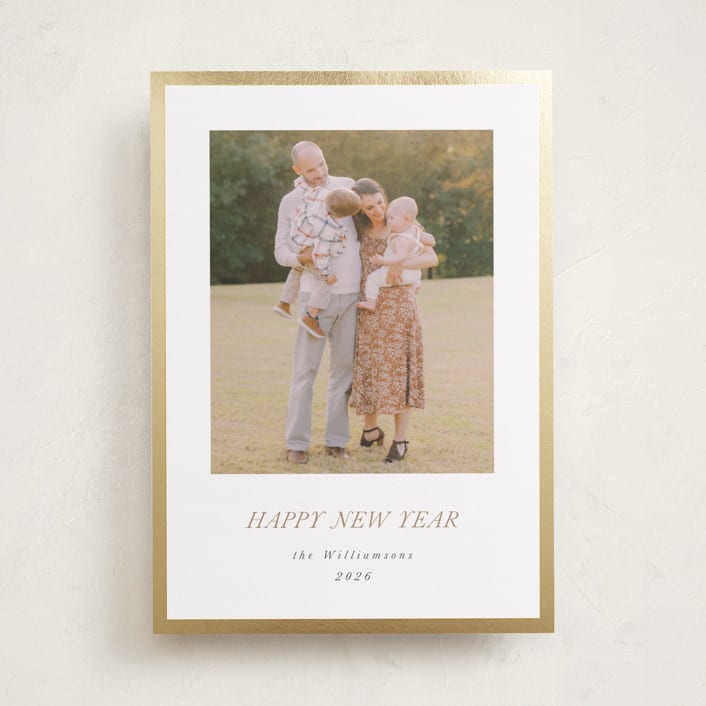
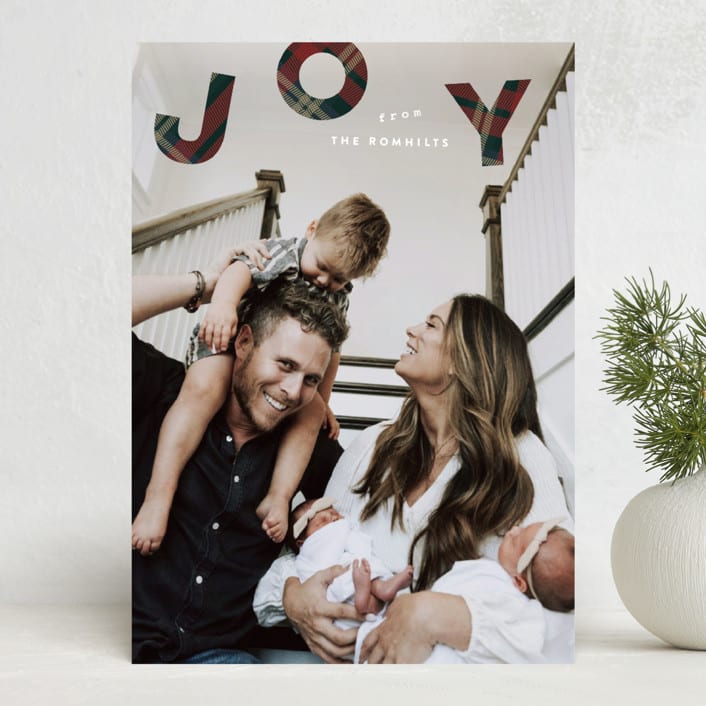
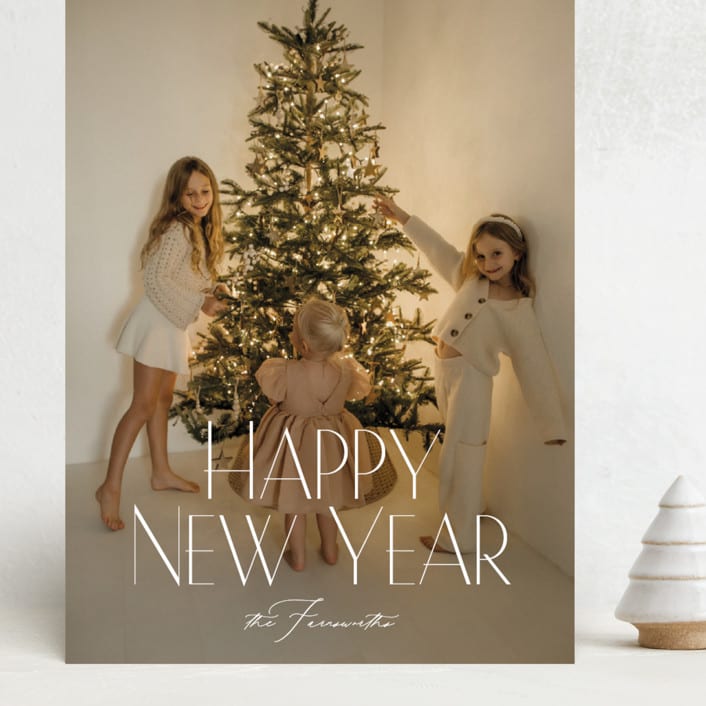
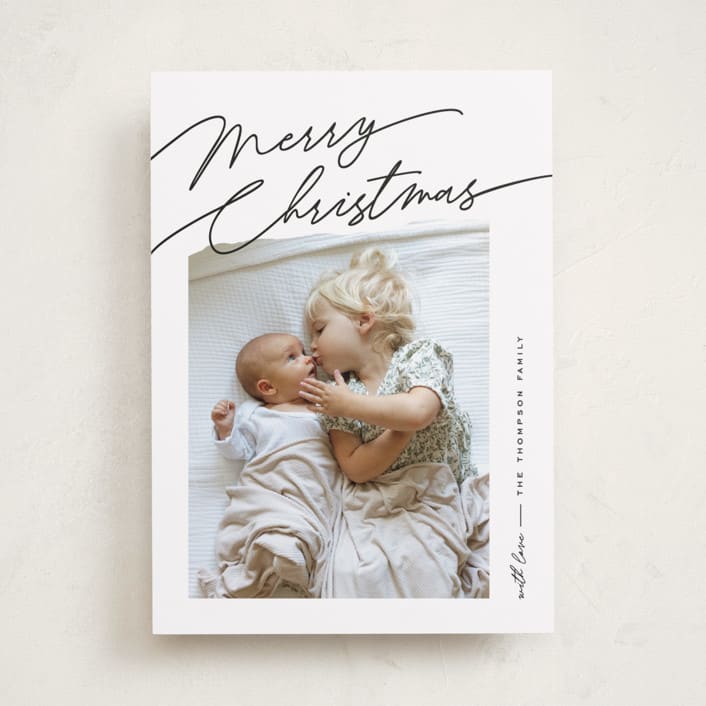
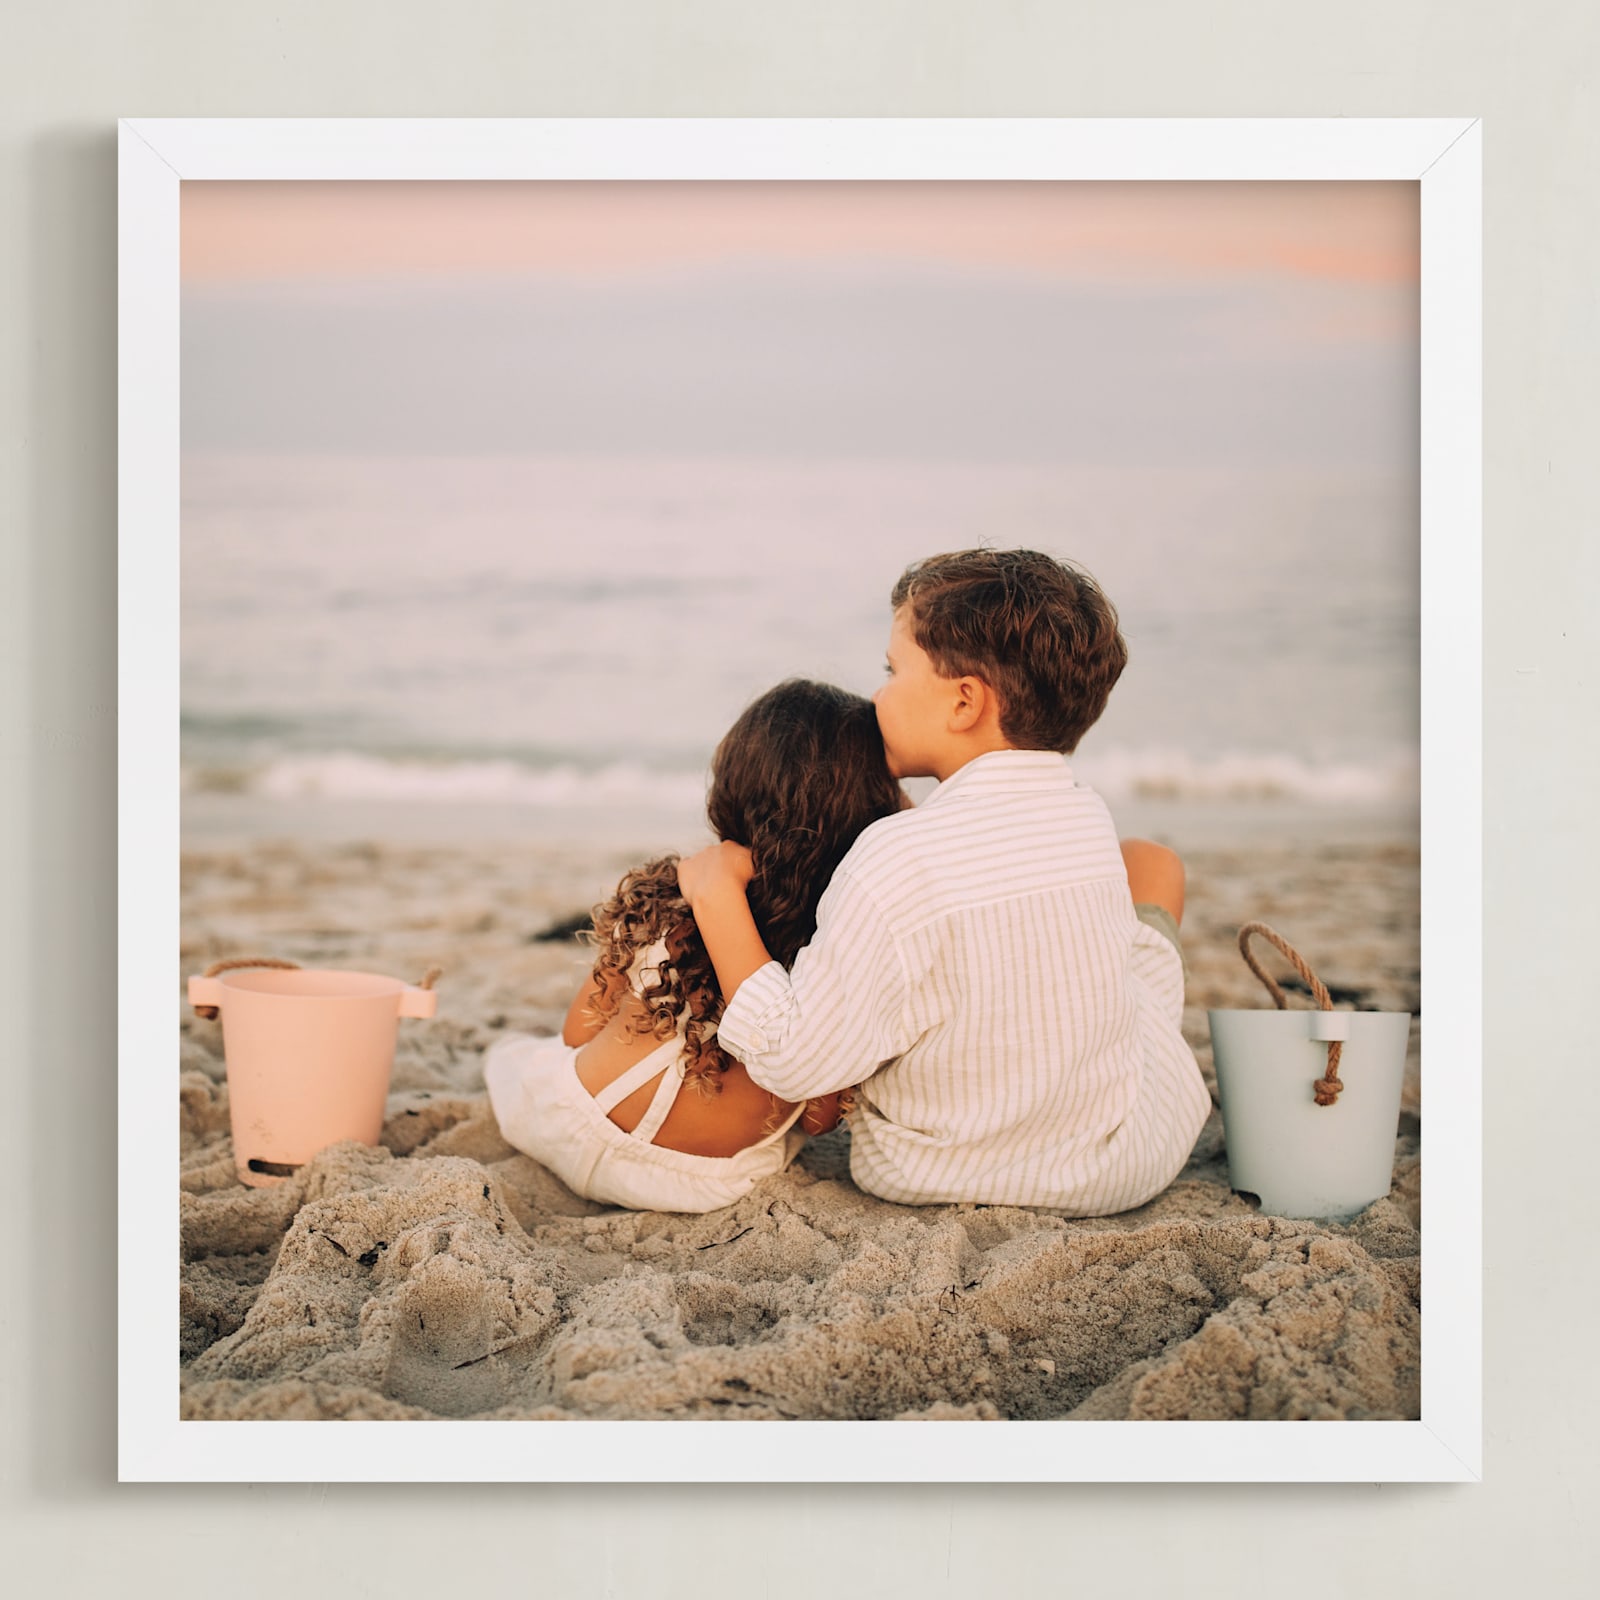
16. Everyone Looking at the Baby (or Pet)
Make your littlest family member the star by having everyone gaze lovingly at them. This shot is full of tenderness and connection — you can’t help but smile when you see it. Whether a baby in a Christmas onesie or a pet in a festive collar, the focus on one tiny subject tells a heartfelt story.
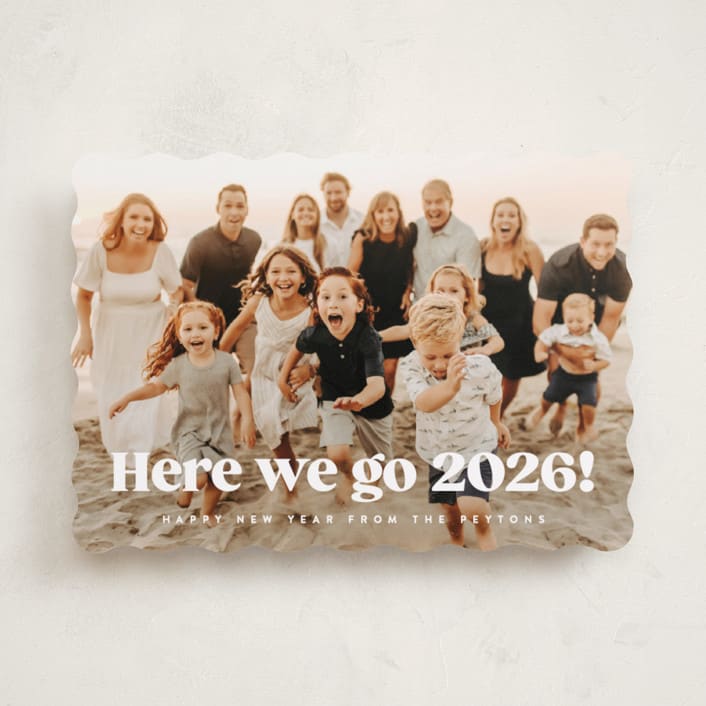
17. Action Shot: Throw the Leaves (or Snow!)
Bring energy to your photos by tossing leaves in the fall or snow in the winter. The movement captures natural joy and laughter, and you’ll love the candid expressions it creates. You can have the kids go all-in while you and your partner share a laugh in the background.
18. The Blanket Wrap
Wrap the family in one big, cozy blanket and snuggle close for an intimate, heartwarming shot. You can look at each other, share a laugh, or peek out at the camera together. This pose works especially well outdoors in cooler weather for a romantic, wintery feel.
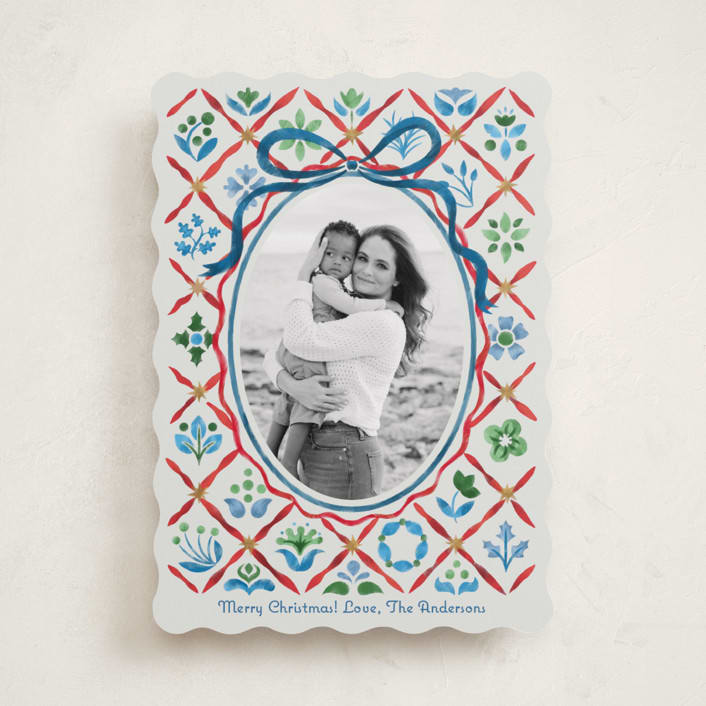
19. Frame Within a Frame
Use a doorway, window, or large wreath to frame your family within the shot naturally. This technique makes your photo instantly artistic, while also keeping the focus on you. It’s a great way to use your home’s décor as part of the scene.
20. Layered Generations
Line up your family by generation, from grandparents to little ones, for a meaningful and memorable portrait. You can mix formal smiles with playful expressions to make it more personal. This pose beautifully captures the legacy and love that make the holidays special.
TIP 2: USE THE EQUIPMENT YOU HAVE
You don’t need to invest in a shiny new camera for your DIY Christmas photos to look like they were taken by a professional! Nowadays, the photo-capturing capabilities of iPhones and Android phones surpass those of many digital cameras. Also, due to the increasing popularity of using a smartphone for group photos, companies are now selling tripods and remote controls, specifically for phones.
Here’s what you might need to help you get the shot:
- Smart Phone: Wipe off the lens of your iPhone or Android, and enable your phone’s equivalent of “portrait mode” to make your DIY family pictures look like they were taken by a pro. The phone’s feature should beautifully enhance your family’s skin tone as well as blur the backdrop, allowing the full focus to be on you and your family.
- Smartphone tripod with accompanying remote: If you intend to use a phone for taking family pictures but don’t want to fuss with a timer, purchase a tripod that comes with a remote. You can enable Bluetooth and snap a picture while you are coordinating your poses with your family.
- Selfie Stick: If you don’t want to invest in a tripod for a single photoshoot, you can opt for a selfie stick. Selfie sticks are great because they allow you to see and adjust your angle in real-time to ensure you’re getting everyone’s best shot. Additionally, they provide a wider view of your family rather than simply using your arm.
- Digital Camera: If you would prefer to play around with the various functionalities that digital cameras have to offer, take a look at the latest selections by Nikon, Canon, Fujifilm, or Panasonic. Digital cameras can be purchased for beginners for a little over $100.
- Photo Editing App: You don’t necessarily need the entire Adobe Creative Suite in order to edit your photos. Outside of Photoshop and Lightroom, you can also use phone apps such as Snapseed, VSCO, and Afterlight to color correct and apply any desired filters to enhance your family’s shine.
Pro Tip: Use your phone’s voice control feature or timed burst mode to make capturing group shots easier. Voice control lets you snap a photo without rushing back into place, and burst mode ensures you’ll have multiple images to choose from, perfect for catching the one where everyone’s eyes are open and smiles are natural.
TIP 3: FIND A FAMILIAR LOCATION FOR DIY CHRISTMAS PHOTOS
Coordinating your own DIY Christmas photos can be stressful, especially when young children (or pets) are involved. In order to keep things simple, you can choose a spot that is familiar and comfortable for you and your family, both indoors and outdoors.
- Outdoor Options: If you catch the right hour, you can take photos right outside your house, such as your front porch, backyard, or a nearby park. However, before you find your spot to post up, make sure you’re paying attention to the landscape and ensuring that it is tidy and not too distracting. Look out for branches that may obstruct your family’s faces or loose leaves and pedestrians that may detract from the key subject of the photograph.
- Indoor Options: If you find that taking family photos outside is too much of a hassle, you can always opt for a place inside your home. Look out for locations within your home that have a clean backdrop, plenty of space, and great lighting. Declutter the background to keep the focus on your family and avoid visual distractions. Potential places to set up your family photos can be your bedroom, living room, kitchen, entryway, or dining room. Also consider an area in the house that may be beautifully decorated with holiday decor, such as the Christmas mantel. If a clean backdrop is difficult to find, you can get creative and set up a curtain to act as your backdrop. The key is to choose a setting that allows your family's holiday spirit to shine through naturally in your DIY Christmas photos.
Pro Tip: Consider personalized or meaningful locations — like your family's favorite park or any place where you share fond memories. This could help add emotional depth to your DIY Christmas photos and help everyone feel more relaxed.
TIP 4: FIND THE BEST LIGHTING
DIY Christmas photos can look completely professional with the right lighting. If you want to take great photos outside, or with natural light indoors, you will want to take them during the period referred to as “golden hour.”
Golden hour is the time of day right before sunrise and, again, right before sunset. The timing and duration of golden hour will vary based on your geography and the time of year; however, you can track both by doing a simple Google search. Be aware that, although it is called Golden Hour, it may last less than that; therefore, you will want to plan ahead with your family on exactly when the sun will be rising/setting.
The reason golden hour is so great for taking family pictures is that, during this time, there is a flattering, warm hue that accentuates the natural glow of your skin and smooths out any blemishes you may have. Also, during golden hour, the light won’t cast harsh shadows against the contours of your face but, rather, provide a soft dimension with long shadows.
To make the most of golden hour, be mindful of the following tips:
- Face the sun: It seems counterintuitive, but the soft golden light will actually place a warm filter on you and your family’s face, rather than a stark highlight that would occur when the sun is at its highest. Since the light is low and diffused, you and your family won’t have an issue with squinting at the camera.
- Avoid using full flash: If you have a digital camera, you can adjust your settings for a dimmer flash, rather than a full flash. The intent of this lower light flash is to add light to portions of your family photo without overtaking the golden hour glow as the primary source of light.
Indoor Lighting Tips
While natural light is ideal for DIY Christmas photos, you may need a bit of help if you’re shooting indoors. Here are our top tips to achieve well-lit indoor photos:
- Use window light: Position your family near large windows for soft, natural lighting. Avoid direct sunlight, which can create harsh shadows.
- Adjust your camera settings: Increase your ISO and use a wider aperture to allow more light into the camera. This is especially useful in dimly lit rooms.
- Diffuse artificial light: If using lamps or ceiling lights, try diffusing the light with a white sheet or photography diffuser to soften shadows.
- Avoid mixed lighting: Try to use either natural or artificial light. Mixed lighting can create uneven color tones in your DIY Christmas photos.
- Experiment with angles: Sometimes, simply changing the angle of your shot can dramatically improve the lighting in your indoor DIY Christmas photos.
Lighting Accessories
Even a few small tools can make a big difference if you want to elevate your lighting setup. The right accessories can take your images from looking flat to feeling rich and professional. Think about how you want your photos to feel — warm and cozy, crisp and bright, or softly romantic — and choose tools that help you achieve that mood.
- Clip-on ring lights: These small, circular lights attach easily to your phone or camera, giving you soft, even light right where you need it. Perfect for close-up shots or selfies, they keep your face well-lit without harsh shadows. Many models also let you adjust brightness for the right mood.
- Portable LED panels: Lightweight and adjustable, these panels provide consistent brightness whether you’re indoors or outdoors. You can mount them on tripods or hold them by hand, making them easy to position. Adjustable color temperatures let you set a warm or cool tone for your scene.
Pro Tip: If you are using artificial light sources, place them at a 45-degree angle to your subjects to create flattering shadows and add dimension in your DIY Christmas photos.
TIP 5: COORDINATE OUTFITS FOR STUNNING DIY CHRISTMAS PHOTOS
Before you get in front of the camera, think about the general aesthetic you’d like your Christmas photos to have, and use that to start to brainstorm outfit ideas that capture the vibe you hope to achieve in your photos. Think about a cohesive color palette that will enhance your photos, being very mindful to avoid mixing warm and cool tones together. (You may also find our detailed post about Christmas outfits to be a helpful place to start gathering inspiration!)
Stick to a scheme of three colors that complement the location of your photoshoot. For example, denim, white, and tan, or green, tan, and blush. This way, no one is too matchy, but everyone’s outfits all go together.” — Annika Smith, Photographer.
A few color palettes we love for holiday photo wardrobe:
- Natural Earth Tones: Deviate from the standard bright red and green; instead, opt for more seasonal earth tones like brown, blush, rust, and pine green.
- Blue Hues: Express the holiday spirit by wearing light blues and neutrals. These colors will be complementary in the context of outdoor DIY Christmas pictures or holiday photos.
- Merry Mauve: Combine the warmth of the season with the coolness of the temperature by dressing your family in mauve for your DIY family pictures. Mix these colors with gray, white, and blush for a softer expression of the holiday.
While you’re having fun with the color palette, you can also start thinking about the types of textures and patterns you want everyone to wear. Just be aware that if you incorporate too many different patterns and textures into your family’s clothing, you risk overwhelming the picture and potentially detracting from your family’s faces. To avoid this, here are a few ideas on how to take group photos while also incorporating textures and patterns:
- Flannel: Although it may be a little clichéd, flannel is a failsafe way to style your family for your DIY photo shoot. Once your family lands on a color scheme (i.e. red and black vs. green and black vs. red and white), you can all buy your own expression of it. The complementary colors with rich texture will make for a great family photo.
- Fair-Isle Knits: Embrace the warm holiday spirit and bundle up in cozy Fair-Isle knits. Think chunky sweaters, thick scarves, and pom pom hats with matching mittens. If you find that the neutral knits are too stark, play around with your seasonal accessories for that pop of color.
- Gingham: Exude classic vintage styling by donning gingham in various check sizes. Play around with the men of the family wearing gingham ties while the women wear a mixture of dresses and headbands.
TIP 6: ENHANCE YOUR DIY CHRISTMAS PHOTOS WITH SIMPLE EDITS
After capturing your DIY Christmas photos, a few simple edits can take them from good to great. Here are some post-processing tips to enhance your final images:
- Cropping: Adjust the composition by cropping out distracting elements or reframing the shot to focus on your family.
- Exposure adjustment: Brighten underexposed areas or tone down overexposed parts to balance the light in your DIY Christmas photos.
- Color correction: Adjust the white balance to ensure the colors in your photos look natural and festive.
- Filters: Apply subtle filters to add warmth or a holiday mood to your DIY Christmas photos, but be careful not to overdo it.
- Sharpening: Slightly increase the sharpness to make your DIY Christmas photos look crisper and more professional.
Remember, the goal of editing is to enhance your DIY Christmas photos, not completely change them. Aim to maintain the natural look and authentic feel of your family moments.
Pro Tip: Before snapping a photo, make sure to turn on your camera or phone’s grid lines to keep horizons straight and your subjects perfectly centered. Pair it with the level feature to avoid tilted shots, so your images look clean and polished right from the moment you capture them, reducing the need for heavy edits later.
TIP 7: REPURPOSE EXISTING PHOTOS
Sometimes, the best moments for DIY Christmas photos are captured from previous trips and experiences. Take out your iPhone and look through your albums. Look for candid moments of the kids during that latest camping trip, moments of the family enjoying a meal together, or moments celebrating key milestones you experienced as a family in 2025.
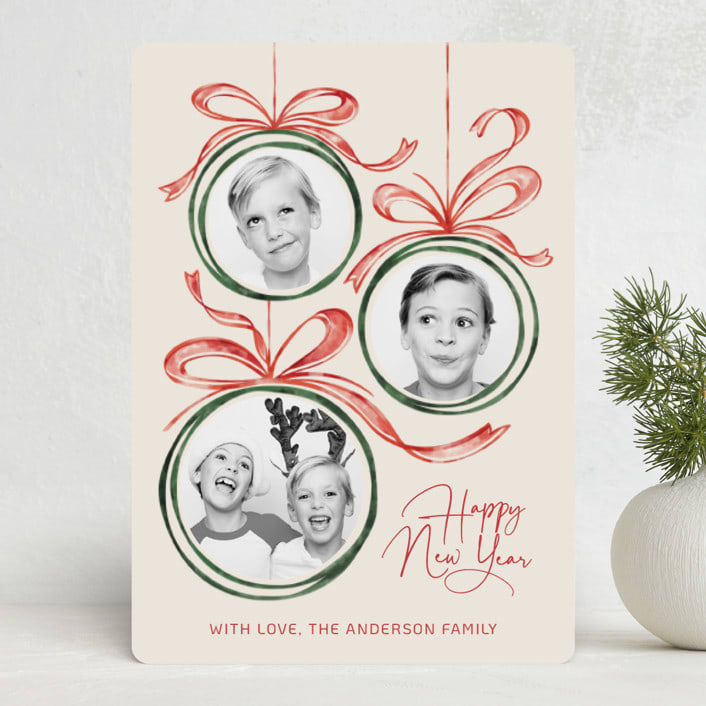
Using moments from the past year will keep your loved ones informed of what you have done and capture these fond memories in a holiday card you can use as a keepsake. If you find a photo from the past that you like, download any of the photo editing apps previously mentioned and enhance them! Once you have your photos enhanced, you can then browse through Minted’s collection of photo holiday card designs that feature more than one picture and show all your favorite photos from the year.
TIP 8: EXTEND THE LIFE OF YOUR DIY CHRISTMAS PHOTOS
Now that you have taken the time to plan these DIY family pictures, it makes sense to show off your completed photos in numerous ways! Below are some great ways to repurpose your DIY Christmas photos for gifts or items to enjoy in your own home:
- Calendars - Start your calendar on any month, and customize it with your favorite photos from the session.
- Journals - Customize a notebook as a planner, address book, or 80-page journal and incorporate images onto the front cover to make it your own.
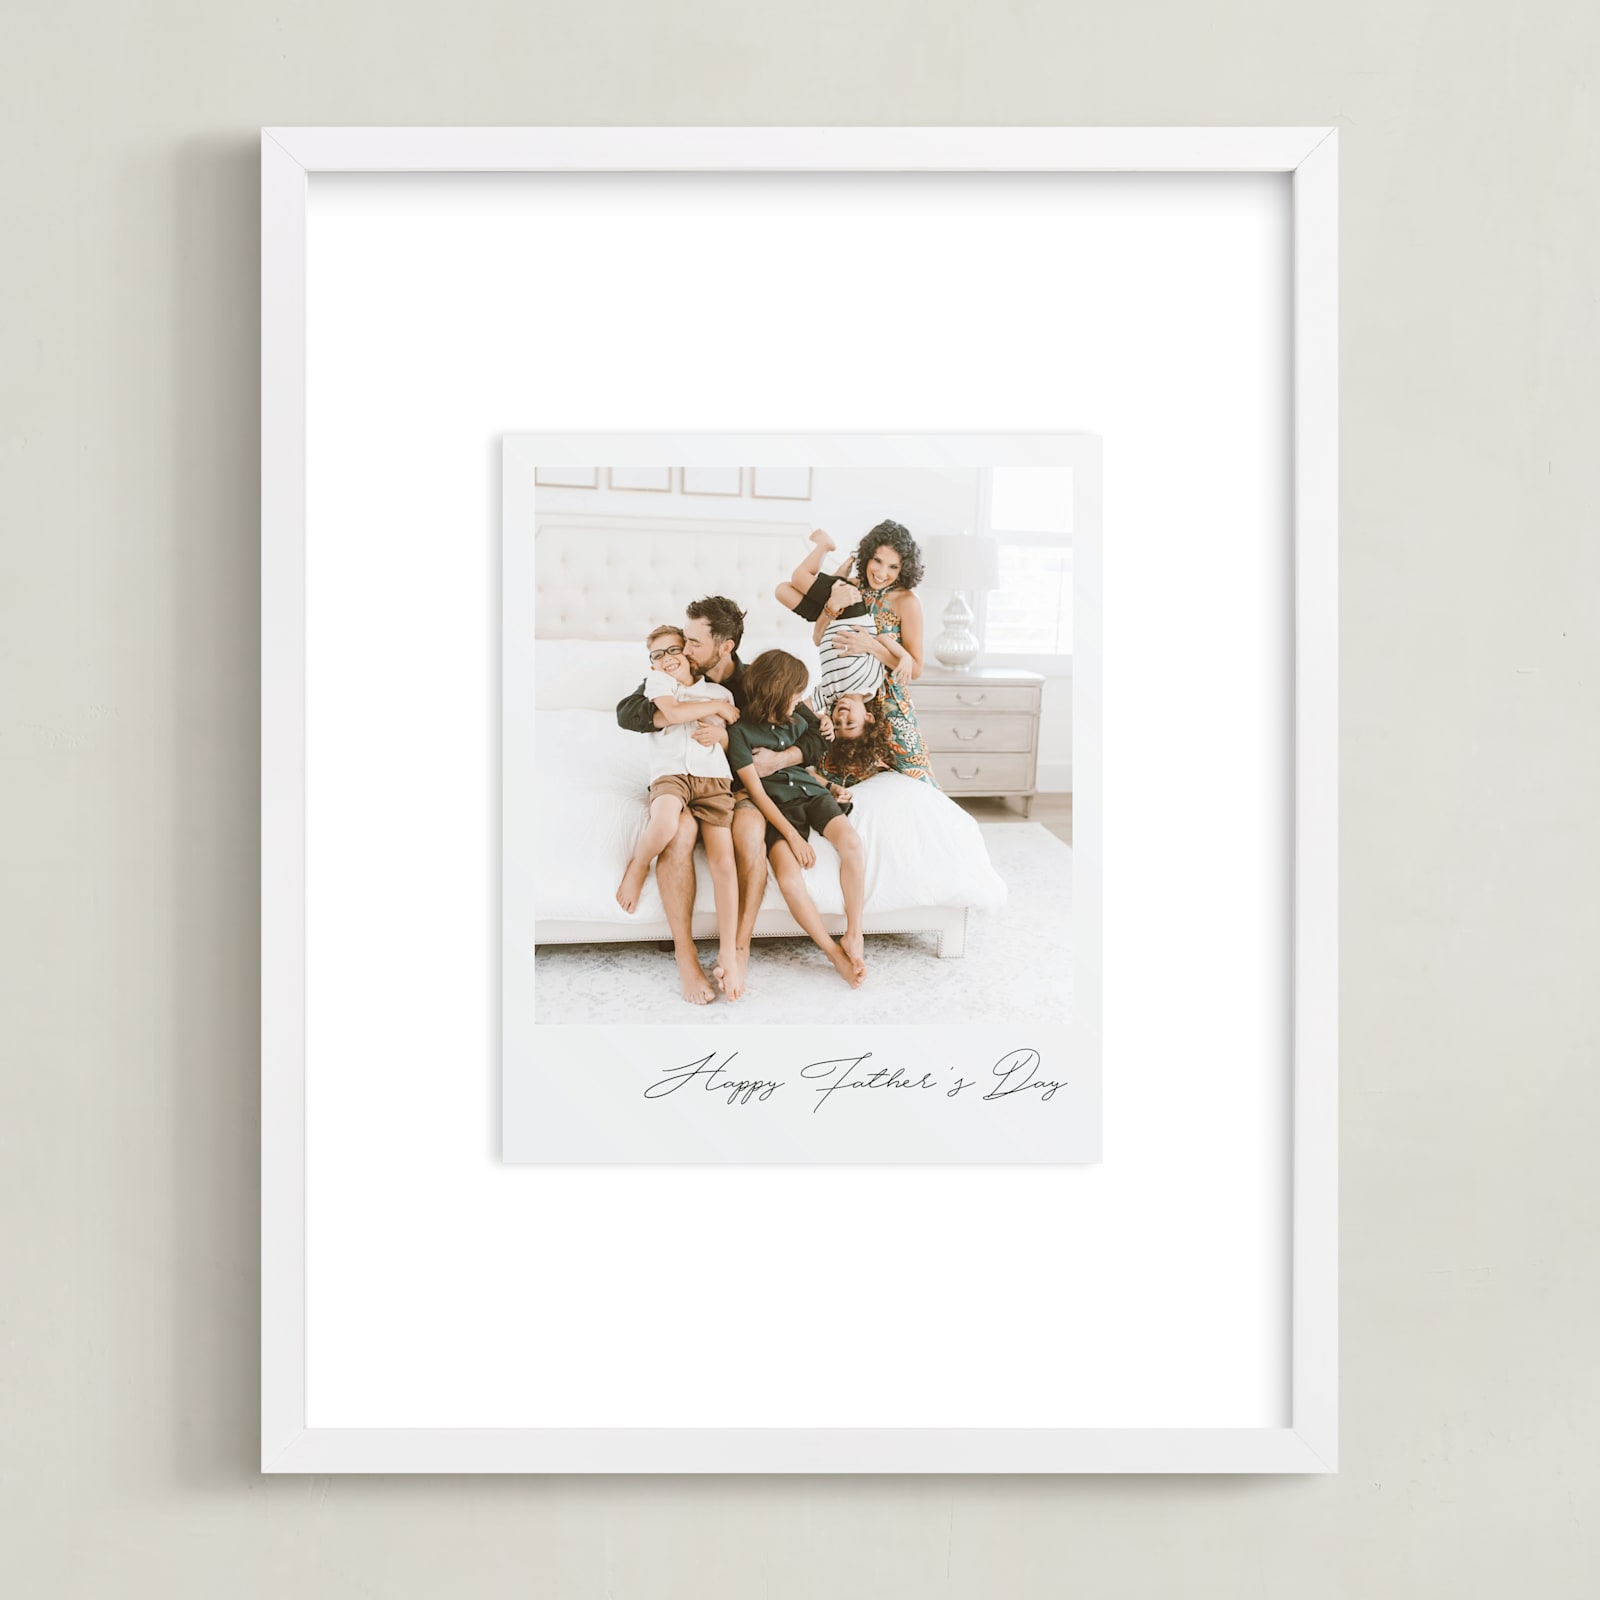
- Photo Art Gifts - Framed photos are perfect for family gifts throughout the holiday season, or may be exactly what you need in your own home.

Common Mistakes to Avoid for the Perfect Family Photo
Even with great planning, it’s easy to overlook small details that can affect how your family photos turn out. If you’re aiming for the perfect family photo, keep an eye out for these common mistakes:
- Over-coordinating outfits: If everyone is wearing the exact same thing, your photos can look stiff and overly staged. Instead, choose a cohesive color palette and mix in different textures and patterns so your family’s personality shines through.
- Shooting at high noon: Taking pictures in harsh midday light can leave you with squinting eyes and strong shadows on faces. Aim for golden hour or soft morning light so your shots feel warm, flattering, and full of life.
- Cropping too tightly for card templates: If you crop right up to the edge of your subjects, you may lose important details when you place your photo in a holiday card design. Give yourself extra space so you can adjust and fit your image perfectly.
- Not checking bleed zones: Always double-check the print guidelines so no one’s face or text is too close to the edges. This way, you won’t lose precious details when the printer trims your card.
Ready, Set, Snap: Your Pre-Shoot Checklist for Perfect DIY Christmas Photos
Before you start snapping those perfect holiday moments, use this checklist to ensure you're fully prepared for your DIY Christmas photo shoot:
- Choose the right date: Select a day when all family members are available and, ideally, well-rested.
- Create a shot list: Plan out the specific DIY Christmas photos you want to capture, including different poses and groupings.
- Prepare outfits in advance: Coordinate your family's outfits and have them ready the night before to avoid last-minute stress. For outdoor photoshoots, consider layering options and comfortable footwear suitable for the location. Choose outfits that reflect your family's style — whether it's formal, casual, outdoorsy, or bohemian.
- Check your equipment: Ensure your camera or smartphone is fully charged and you have enough storage space for photos.
- Scout locations: If shooting outdoors, visit the location in advance to check lighting and potential backdrops.
- Plan for breaks: If you have young children, schedule in short breaks to keep everyone happy and engaged.
- Prepare props: Gather any holiday-themed props you want to include in your DIY Christmas photos.
- Have a backup plan: If you're planning outdoor DIY Christmas photos, have an indoor alternative ready in case of bad weather.
- Pack essentials: Bring water, snacks, and anything else you might need to keep your family comfortable during the shoot.
- Review your tips: Go over the DIY Christmas photo tips in this article to refresh your memory on poses, lighting, and composition.
By checking off these items, you'll be well-prepared for your DIY Christmas photo shoot, increasing your chances of capturing those perfect holiday moments with less stress and more joy.
Frequently asked questions (FAQs) about taking the perfect family photo
These frequently asked questions cover the essentials for nailing the perfect family photo. From lighting and posing to outfits and editing, you’ll find quick, practical answers that help you create a polished yet personal holiday portrait.
What are some key holiday photo tips for capturing the perfect family portrait?
Some key holiday photo tips for capturing the perfect family portrait include planning your outfits ahead of time, choosing the right lighting, and making sure everyone feels comfortable. The perfect family portrait should reflect your personality and connection while still looking polished.
How can I plan the ideal location and backdrop for my family photos during the holidays?
To plan the ideal location and backdrop for your family photos during the holidays, think about spaces that feel personal and festive — like your decorated living room, a snowy park, or a local holiday market. The best backdrop will complement your family without stealing the spotlight.
What lighting conditions work best for festive family photography?
The lighting conditions that work best for festive family photography are soft and warm, ideally during golden hour. This light flatters skin tones, reduces harsh shadows, and gives your images a cozy holiday glow.
How can I incorporate seasonal elements without overpowering the family portrait?
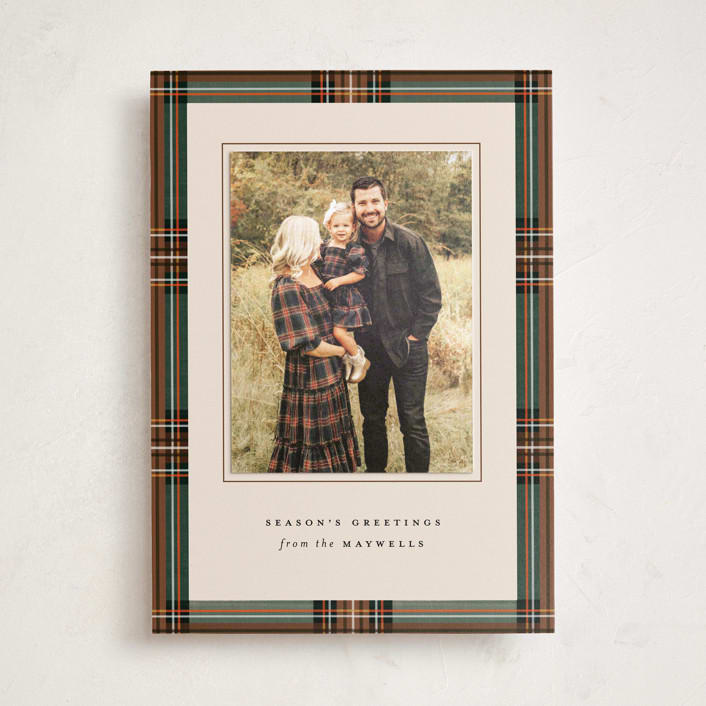
You can incorporate seasonal elements without overpowering the family portrait by using them as subtle accents — like a plaid blanket, a few ornaments, or twinkling lights. These touches add holiday cheer without distracting from your family.
What outfit coordination tips help create a cohesive look for holiday photos?
Outfit coordination tips for a cohesive holiday photo include picking a color palette and letting each person’s outfit vary in pattern and texture. This keeps the look unified but still authentic to your family’s style.
How can I capture natural, candid moments in a holiday family photo session?
To capture natural, candid moments in a holiday family photo session, encourage playful interactions instead of rigid poses. Laugh, walk, or exchange gifts to create genuine expressions.
What creative poses can add a fun and authentic touch to family portraits?
Creative poses like having everyone look at the youngest family member, wrapping up in a big blanket, or tossing snow can add fun and authenticity to your family portraits.
How can I prepare my children to be photogenic during a holiday photo shoot?
You can prepare your children to be photogenic during a holiday photo shoot by keeping the mood light, bringing snacks, and letting them take breaks. When kids are happy, their genuine smiles will shine.
What camera settings or photography techniques work best for indoor and outdoor holiday photos?
For indoor holiday photos, use a wider aperture and higher ISO to brighten your shots without flash. For outdoor shots, stick to a lower ISO and use natural light to keep colors true.
How can I ensure my holiday family photo is edit-ready for a polished, professional finish?
To ensure your holiday family photo is edit-ready, make sure it’s well-lit, properly framed, and in focus before you finish your session. A well-captured image will require only minimal touch-ups to look professional.
Capturing the Magic of Your DIY Christmas Photos
Creating beautiful DIY Christmas photos is completely within your reach when you prepare ahead, use the right techniques, and bring your own unique style to the shoot. With every tip in this guide, you’re telling the story of your family’s holiday season.
At the heart of the perfect family photo is the emotion it captures. Focus on the laughter, the stolen glances, and the little moments that make your family yours. Don’t get caught up in chasing perfection — your real magic is in the authenticity. So grab your camera, rally your loved ones, and make this year’s holiday photos a joyful tradition you’ll look forward to, share proudly, and cherish for decades.


